Install at your own risk. When in doubt, use a professional.
This independent guide is provided for general information. It is not an official BYD service manual or a substitute for professional advice. Installation affects the bonnet latch and electrical system; mistakes can cause injury, vehicle damage or an insecure bonnet.
If you are unsure about any step, stop and contact a qualified automotive installer or service centre. Confirm that the kit and instructions match your vehicle and kit version before starting. You are responsible for deciding whether you have the skills and tools to proceed and for checking the completed installation.
Advice from the kit vendor
If you are not confident about installing the kit yourself, we recommend contacting a local automotive service center or professional installer for assistance. They can provide professional installation and ensure that the kit is installed correctly.
Vendor advice supplied with this guide.
Important before you start
- Do not power the electric latch while it is unloaded/uninstalled.
- Remove the shipping cable tie from the latch tongue before normal operation.
- If foam padding is present on the latch/extended latch mating area, remove it so the surface remains flat.
- Keep the kit unpowered until the mechanical installation and cable routing are complete.
- Preserve the factory mechanical bonnet release and verify that it still works before refitting cosmetic trim.
Open the bonnet & identify the covers
The source installation is for the BYD Seal sedan. Check your own vehicle handbook and kit revision; other BYD models and model years may differ.
- Locate the bonnet-release handle under the dashboard, using your vehicle's handbook.
- Pull the handle twice to release the bonnet. It should open slightly.
- Lift the bonnet until its supports take over and raise it. Make sure it stays securely open before working underneath.
Sources: BYD Seal Australian handbook (2023), “Opening the Hood”, printed p. 174; 2025 handbook, printed p. 181. Both describe two pulls, but their text differs on handle location. Use the handbook supplied for your vehicle.
The painted bonnet, the front storage-box lid and the surrounding plastic trim are separate parts. Step 02 shows removal of the upper plastic trim to access the latch. Match the panels to the video before levering anything.
Preparation & latch precautions
Remove any foam that would prevent the latch/extension surface from sitting flat. Foam left in this area can rub against the motor and interfere with the return movement.
Video transcript — Mandarin ASR + English translation
The Mandarin column is machine transcription and contains occasional recognition errors. The English column has been normalised against the visible action in the video rather than translating obvious ASR nonsense literally.
| Time | Mandarin ASR | English |
|---|---|---|
| 装测的时候 锁块上面 延伸锁块上面 | During installation, check the latch block and the extended latch block. | |
| 如果有这些海绵的 让这些地方有海绵的 | If there is foam padding on these areas, | |
| 一定要把这些海绵给撕掉 | make sure you peel the foam off. | |
| 就说保持锁块的平整了 | The latch block needs to remain flat. | |
| 不撕掉的话 会刮到那个电机上属工作的 | If you leave the foam there, it can rub against the motor while it operates | |
| 跟回位会有干涉的 | and interfere with the mechanism returning to position. |
Remove the upper trim
Start at the shown edge, pry the plastic cover sections upward, release them progressively and remove the pieces to expose the bonnet latch area.
- Watch the full clip first, then compare the starting edge with the still below.
- Inspect the panel for visible clips or screws before lifting. Use a plastic trim tool close to the attachment point, supporting the panel with your other hand.
- Release one attachment at a time. If the panel bends or remains firmly held, stop and look for a fastener or interlocking tab; do not pull harder.
- Before refitting, inspect the clips and their receiving holes. Replace damaged clips with matching parts, align the tabs, then seat each attachment individually.
These are general handling tips, not a verified clip map. The supplied manufacturer video remains the reference for this installation; an exact clip count and release direction have not been independently confirmed for every model year.
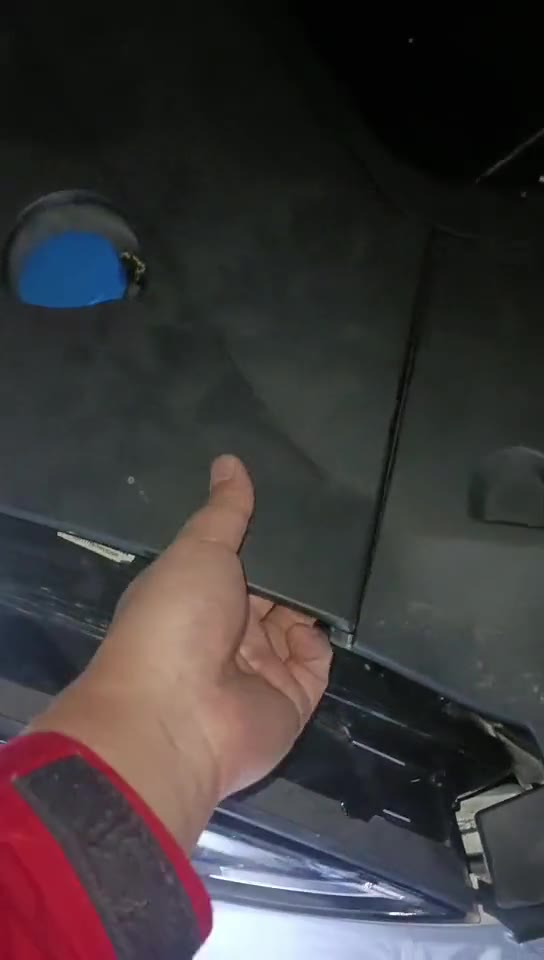
Video transcript — Mandarin ASR + English translation
The Mandarin column is machine transcription and contains occasional recognition errors. The English column has been normalised against the visible action in the video rather than translating obvious ASR nonsense literally.
| Time | Mandarin ASR | English |
|---|---|---|
| 盖板才盖板的话就是先把这里接一块先把这样子把它这样撬起来 | For the cover panel, start here and pry this section upward like this. | |
| 然后这边也是把它这样 | Do the same on this side. | |
| 这边可以把它拿掉这边拿掉才掉 | Then you can remove this section. | |
| 然后再把这个拿掉 | After that, remove this piece as well. | |
| 再装上我们的发源器手拿掉装上我们的这个地区 | Continue removing the cover pieces as shown. |
Remove the factory bonnet latch
Remove the factory latch's three mounting bolts, position the electric soft-close assembly, and reuse the three original bolts to secure the assembly.
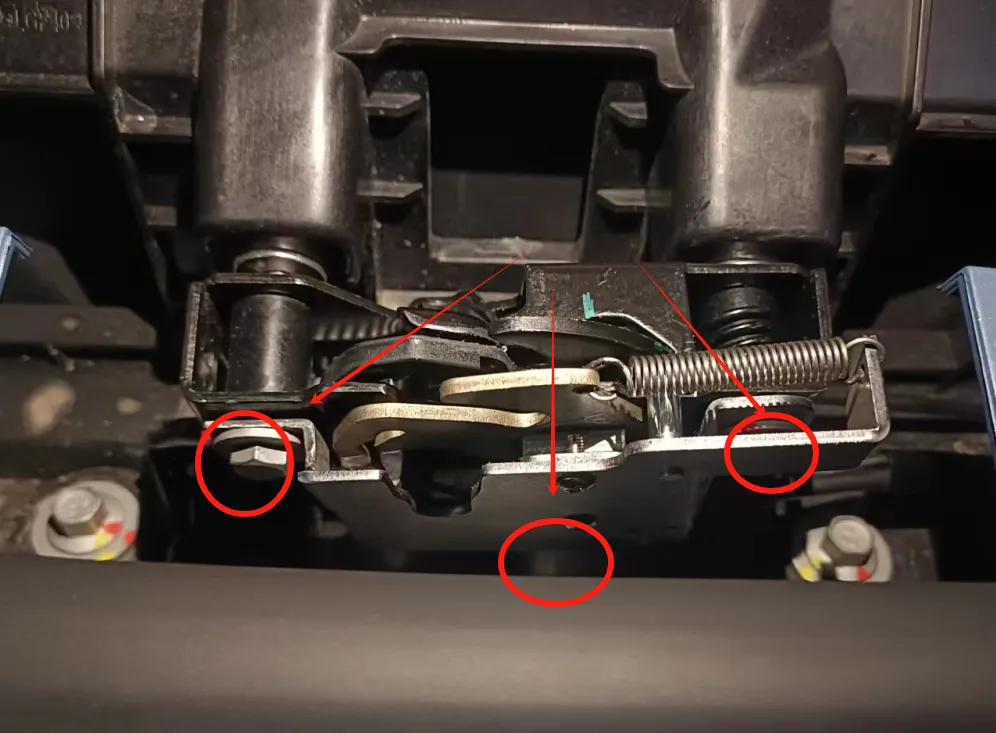
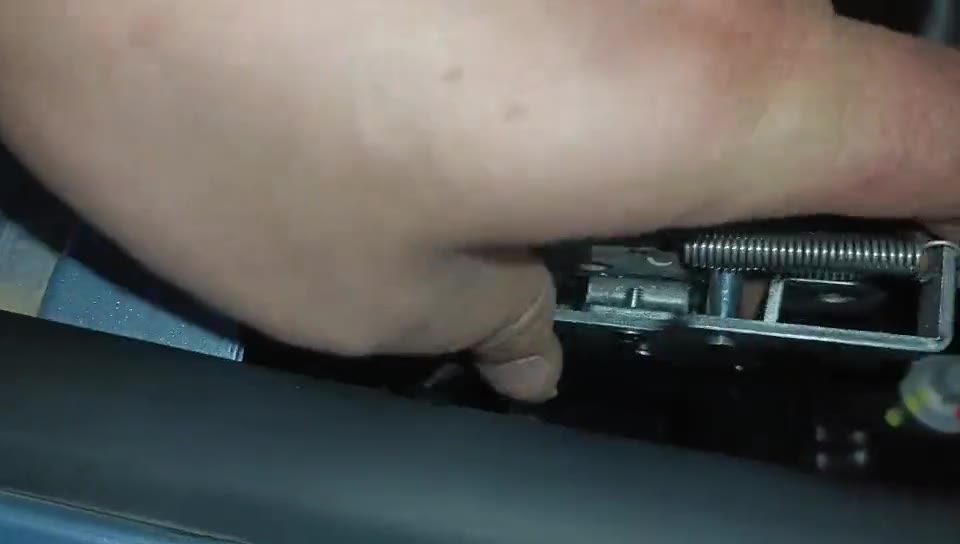
Video transcript — Mandarin ASR + English translation
The Mandarin column is machine transcription and contains occasional recognition errors. The English column has been normalised against the visible action in the video rather than translating obvious ASR nonsense literally.
| Time | Mandarin ASR | English |
|---|---|---|
| 先拆掉原车锁,这一二三个螺丝拆掉之后 | First remove the factory latch. Remove these three bolts: one, two, three. | |
| 再把我们这个电吸 | Then take our electric soft-close unit | |
| 现在装上去 | and install it here. | |
| 这样装好了 | That is the installed position. | |
| 正好在手上螺丝 | Reuse these three original bolts to secure it: one, two, three. | |
| 在手上这螺丝 | ||
| 手上这一二三个螺丝就可以了 |
Route the cable & position the motor
Feed the new cable through the shown opening and internal gap, pull it through to the latch side, position the factory latch/linkage, tighten the mounting bolts, and place the motor in the demonstrated location.
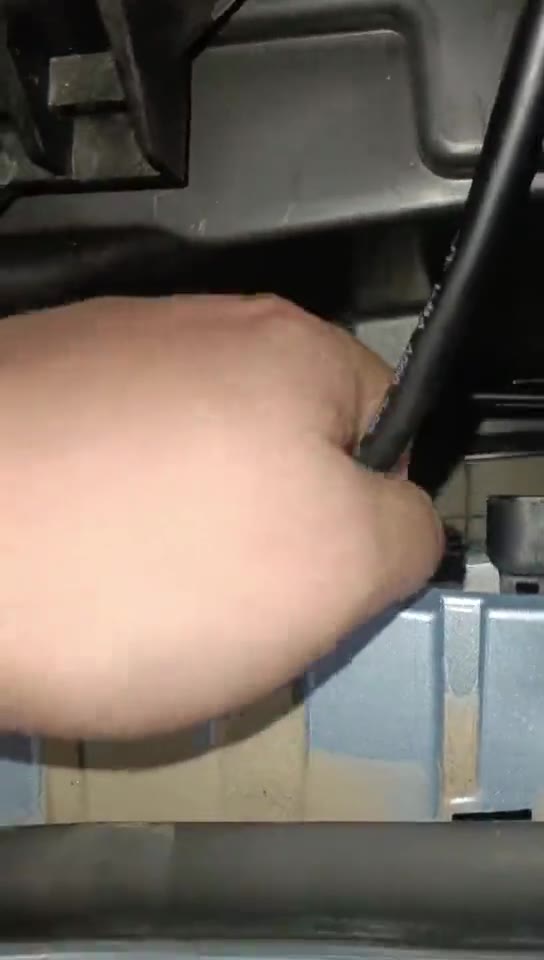
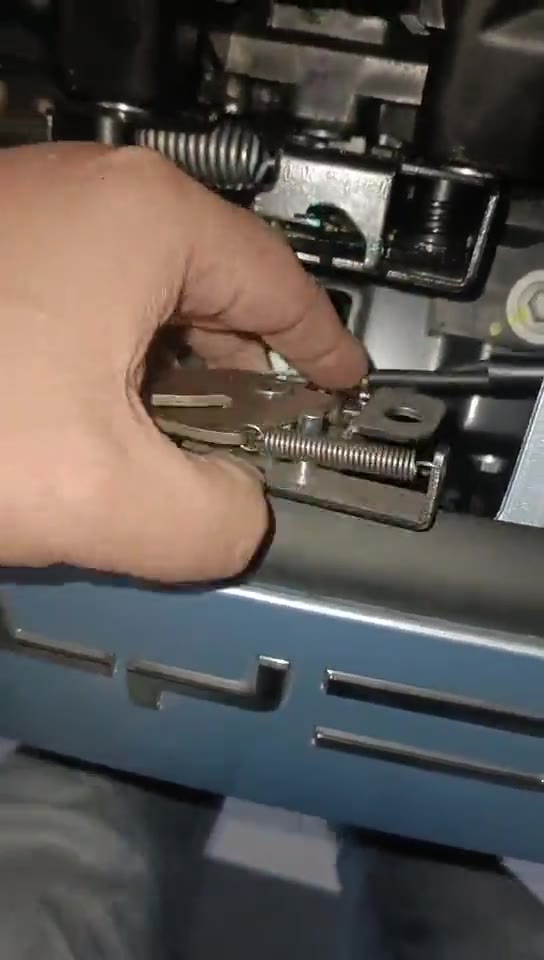
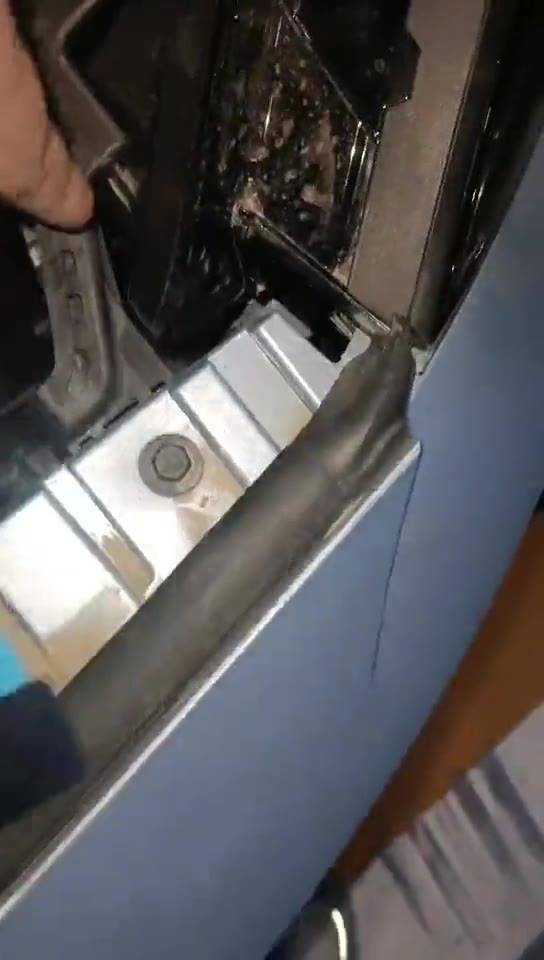
Video transcript — Mandarin ASR + English translation
The Mandarin column is machine transcription and contains occasional recognition errors. The English column has been normalised against the visible action in the video rather than translating obvious ASR nonsense literally.
| Time | Mandarin ASR | English |
|---|---|---|
| 细的话按钮的话就从这个 | Route this cable through here, as shown. | |
| 它这里 | Feed it through this opening. | |
| 从这里穿过来 | There is a gap inside here. Pass it through that gap | |
| 把这个从这里穿过来 | and pull it through to this side. | |
| 从这里面这里面有一个缝的 | Once it is through, position the factory latch/linkage like this. | |
| 就从这里面穿过来 | Fit it together like this and tighten the bolts. | |
| 再穿过来 | Seat it in position and tighten the bolts. | |
| 穿过来就可以了 | Place the motor here. | |
| 穿过来然后再再 | ||
| 把原则手这样子 | ||
| 这样子装起来把螺丝锁上就可以了 | ||
| 踏进去把螺丝锁上 | ||
| 这个电机就放这里 |
Secure all three mounting bolts
A short confirmation clip showing the electric soft-close assembly secured with all three mounting bolts — two visible from above and one underneath.
Video transcript — Mandarin ASR + English translation
The Mandarin column is machine transcription and contains occasional recognition errors. The English column has been normalised against the visible action in the video rather than translating obvious ASR nonsense literally.
| Time | Mandarin ASR | English |
|---|---|---|
| 把电系装上去,锁上一个楼式,两个楼式,下面还有一个楼式,三个楼式 | Install the electric soft-close assembly and secure all three bolts: two here, and one underneath. |
Connect 12 V power
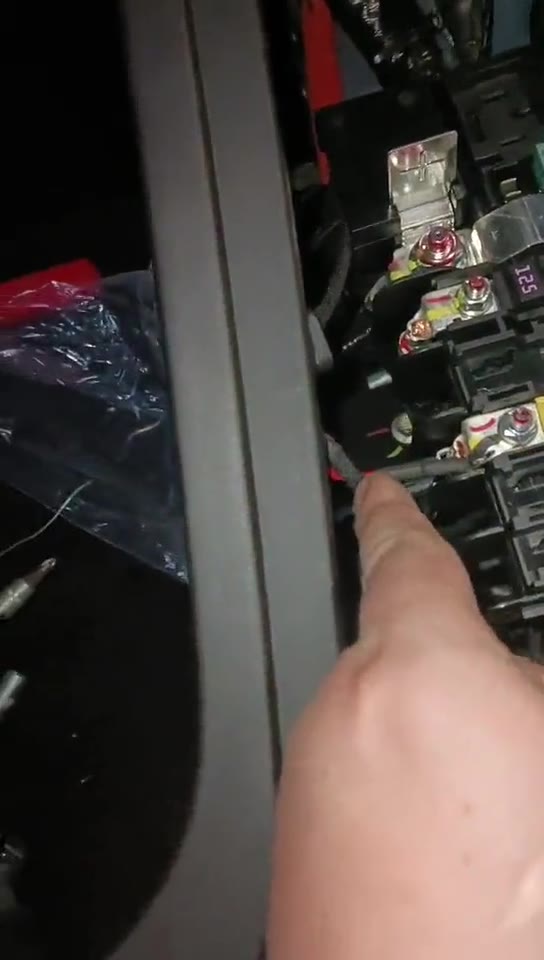
Remove the covers at the under-bonnet power/fuse area. Connect the red wire to the positive terminal and the black wire to the indicated negative/ground point.
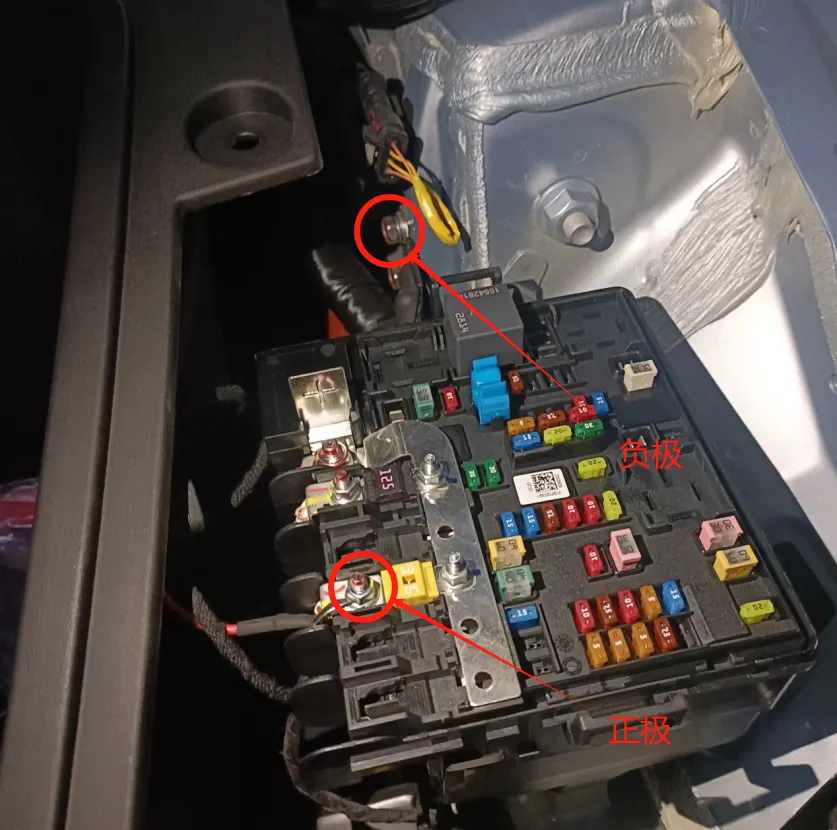
Kit black wire → negative/ground (−), 负极: upper circled connection.
The Chinese image labels identify polarity; the wire colours are confirmed by the video narration. Both arrows in the source image are red—the arrow colour does not indicate wire colour.
Video transcript — Mandarin ASR + English translation
The Mandarin column is machine transcription and contains occasional recognition errors. The English column has been normalised against the visible action in the video rather than translating obvious ASR nonsense literally.
| Time | Mandarin ASR | English |
|---|---|---|
| 就是把这些装饰盖拿掉 | Remove these decorative covers, then remove this box/cover here. | |
| 要这里一个盒子把它拆掉 | After removing it, there is a positive terminal here. | |
| 这个盒子拆掉之后呢 | The red wire connects to positive (+). | |
| 它这里有一个正极 | And here is the other connection. The black wire connects to negative (−). | |
| 应该红色的 | Once those are connected, the power connection is complete. | |
| 红色就装正极 | ||
| 然后这里一个 | ||
| 嗯 | ||
| 黑色的这里就装负极 | ||
| 就把它电源就接好 | ||
| 电源就接好了 | ||
| 电源接好了 |
First powered test
Do this before reinstalling the large cosmetic trim panel.
Make sure the linkage moves freely and nothing binds.
With the assembly installed, connect the kit as shown in step 06.
Bring the bonnet down gently to latch engagement. Do not slam it on the first attempt.
The actuator should pull the bonnet from initial engagement into the fully closed position.
Use the normal interior bonnet-release handle and confirm the bonnet opens correctly.
Run several successful open/close cycles before reinstalling the upper trim.
Further reading & kit differences
BYD Australia's model-specific handbook directory links to owner manuals. Choose the Seal sedan and the handbook appropriate to your vehicle.
An owner installation report in the BYD Seal forum (July 2025; German, with photos) describes a different mounting approach from the three-bolt sequence in this guide. Treat it as owner experience, not a verified MX-9229 procedure. Confirm any difference in the bracket, motor mount or fasteners with your kit vendor before proceeding.
External references checked 10 September 2026. These links require internet access; the original videos, images and transcripts remain local.